


How To Photograph Food
By: Phyllis Yu
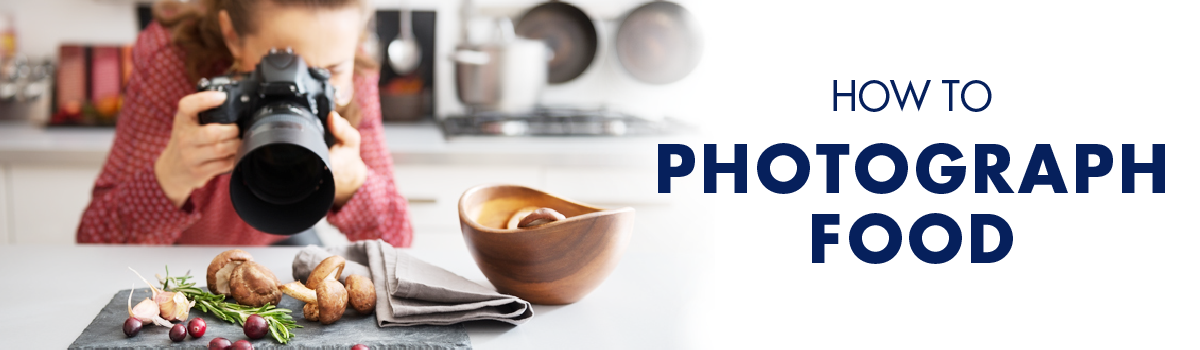
We all have that one friend who has to capture every moment of their lives with a camera. Especially now, with social media, people feel obligated to keep their followers and friends up to date on their every movement. This includes food of course.
Naturally, eating plays a crucial role in every individual's lives. Satisfying the cravings of your stomach with good food is something that is worth looking forward to. However, eating good food is not enough sometimes and this where photography comes into play.
“Wait, wait, wait. Lemme take a picture of it before we dig in.”
Then after what feels like an eternity, they are still snapping away because they haven’t gotten the best shot yet. Fret not, because professional photographer Nicolas Yang[1] has shared with us his secrets to taking the perfect picture. Here are some tips that will guarantee you pictures, like a pro!
Lighting is Everything
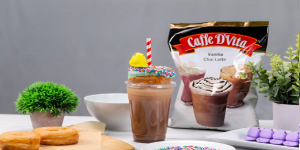
Lighting determines the overall mood of your photo, so it’s crucial that you manipulate the lighting to emphasize the photo’s focal point. Sometimes natural lighting gives you the effect you want, but other times, you’ll have to manipulate artificial lights. For natural light, you can try taking your food pic next to a window, or if that’s not available, take your food pic near any light source. Then depending on if you want a harsher, highlighted pictures, place your food items directly under the light source, but for softer, more eye-pleasing pictures, let your light source hit your food items indirectly.
If you would like to further soften your picture, you can either do so by editing or using a collapsible diffuser in front of your light source.
Placement
Photos make 3D objects 2D, so add depth to your photo by overlapping items instead of laying them adjacent to each other to truly capture the perspective of the natural eye.
Create a focal point by moving the main focus of the picture towards the front and having background elements that are slightly out of focus.
Plan it out
For best and most efficient results, picture how you want the photo to look even before you take the picture. By having a game plan, you’ll be able to finish taking your flawless picture in no time.
Not perfect? It’s okay!
Snap as many different pictures as you can in a short amount of time and then enjoy your food because even if your lighting or placement isn’t perfect, there are editing apps out there that’ll come to your rescue. You’ll have plenty of time to edit your pictures after you eat, so snap away at ease.
Play around with your camera. Take some live photos, some portraits, some panoramas, and any other kinds of photography modes your phone or camera allows. If you are not sure what angle looks best, try them all, but look at them after you eat. By taking a variety of pictures, you’ll have more options to pick from for your best one.
Have Fun
It gets frustrating at times when you can’t get the picture you imagined, but aren’t pictures just a tool to remember a good memory. So don’t be too strict on yourself and if the picture isn’t going your way, try taking it from a different angle or adding a cool effect to it when you’re editing.
Tips | Free Apps For Editing Photos:
Get the look you want by adding a filter or adjusting the lighting:
1. VSCO
2. Adobe Lightroom
3. Google Snapseed
For more artistic touches, try:
1. Avatan
2. PicsArt
3. Quickshot
For cropping pictures:
1. Image size
[1] Click Here to visit Nicolas Yang's photo site